Scenes
The Scenes page is the scene list every other module hangs off. Locations, characters, props, shots, strips, and call sheets all point to scenes, so an error here (a missed heading, a scene that should have been split) follows you all the way to the call sheet. Spend ten minutes checking it against the script before you touch anything else.

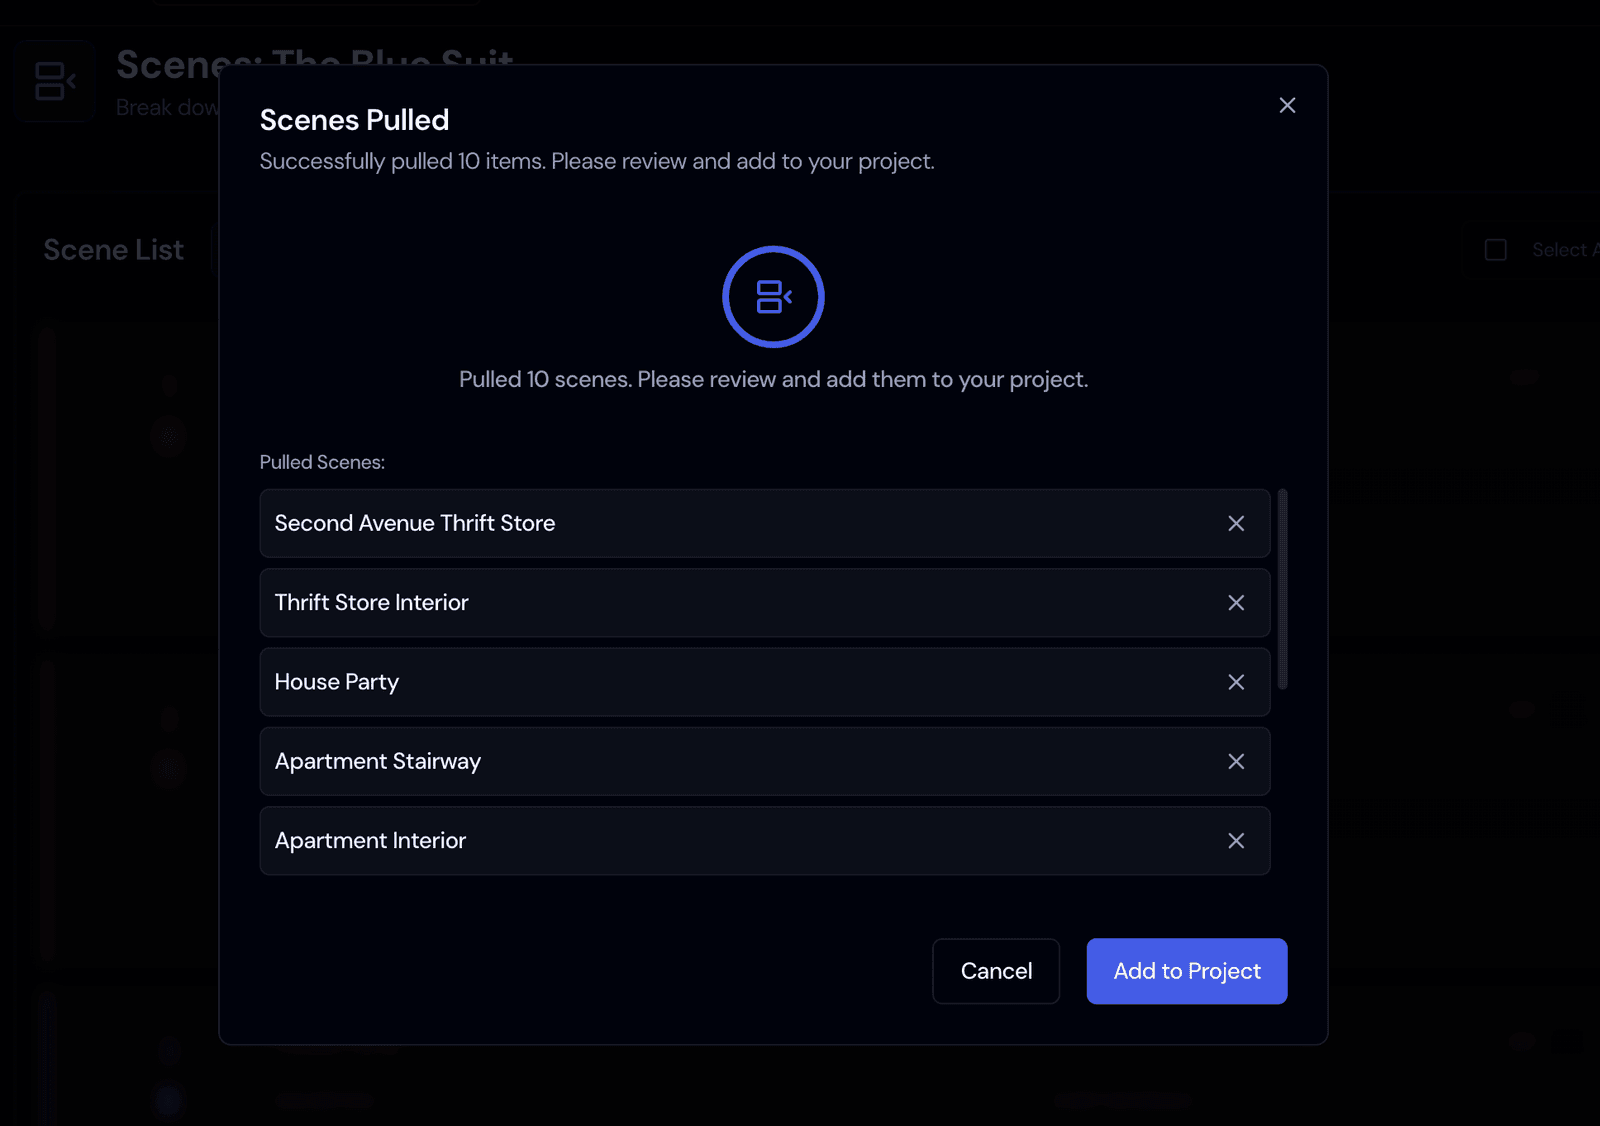
Earlier versions had a Pull from Script button here and a review dialog for pulled scenes. The pull now runs by itself as soon as you upload a script, and pulled scenes go straight into the list.
How the scene list gets built
When you upload a script, Storiara splits it at every scene heading that starts with INT., EXT., EST., or I/E. Numbered headings such as 42A EXT. PARKING GARAGE - NIGHT 42A work too. The split is rule-based, so the same script always produces the same scenes. INT/EXT, the setting, and day or night come from the heading line.
AI then writes a short description for each scene and fills in time of day. While that runs, description boxes show a loading bar. Page length is measured from the script PDF: each page is divided into eight bands, and a scene's length is the distance from its heading to the next heading, in eighths, with a minimum of 1/8. A scene that starts a third of the way down page 12 and ends halfway down page 13 reads as "1 2/8".
There is nothing to approve. As soon as scenes exist, Locations, Cast & Crew, Assets, Music & Effects, Equipment, Shotlist, and Schedule open in the sidebar.
Check the list against your script
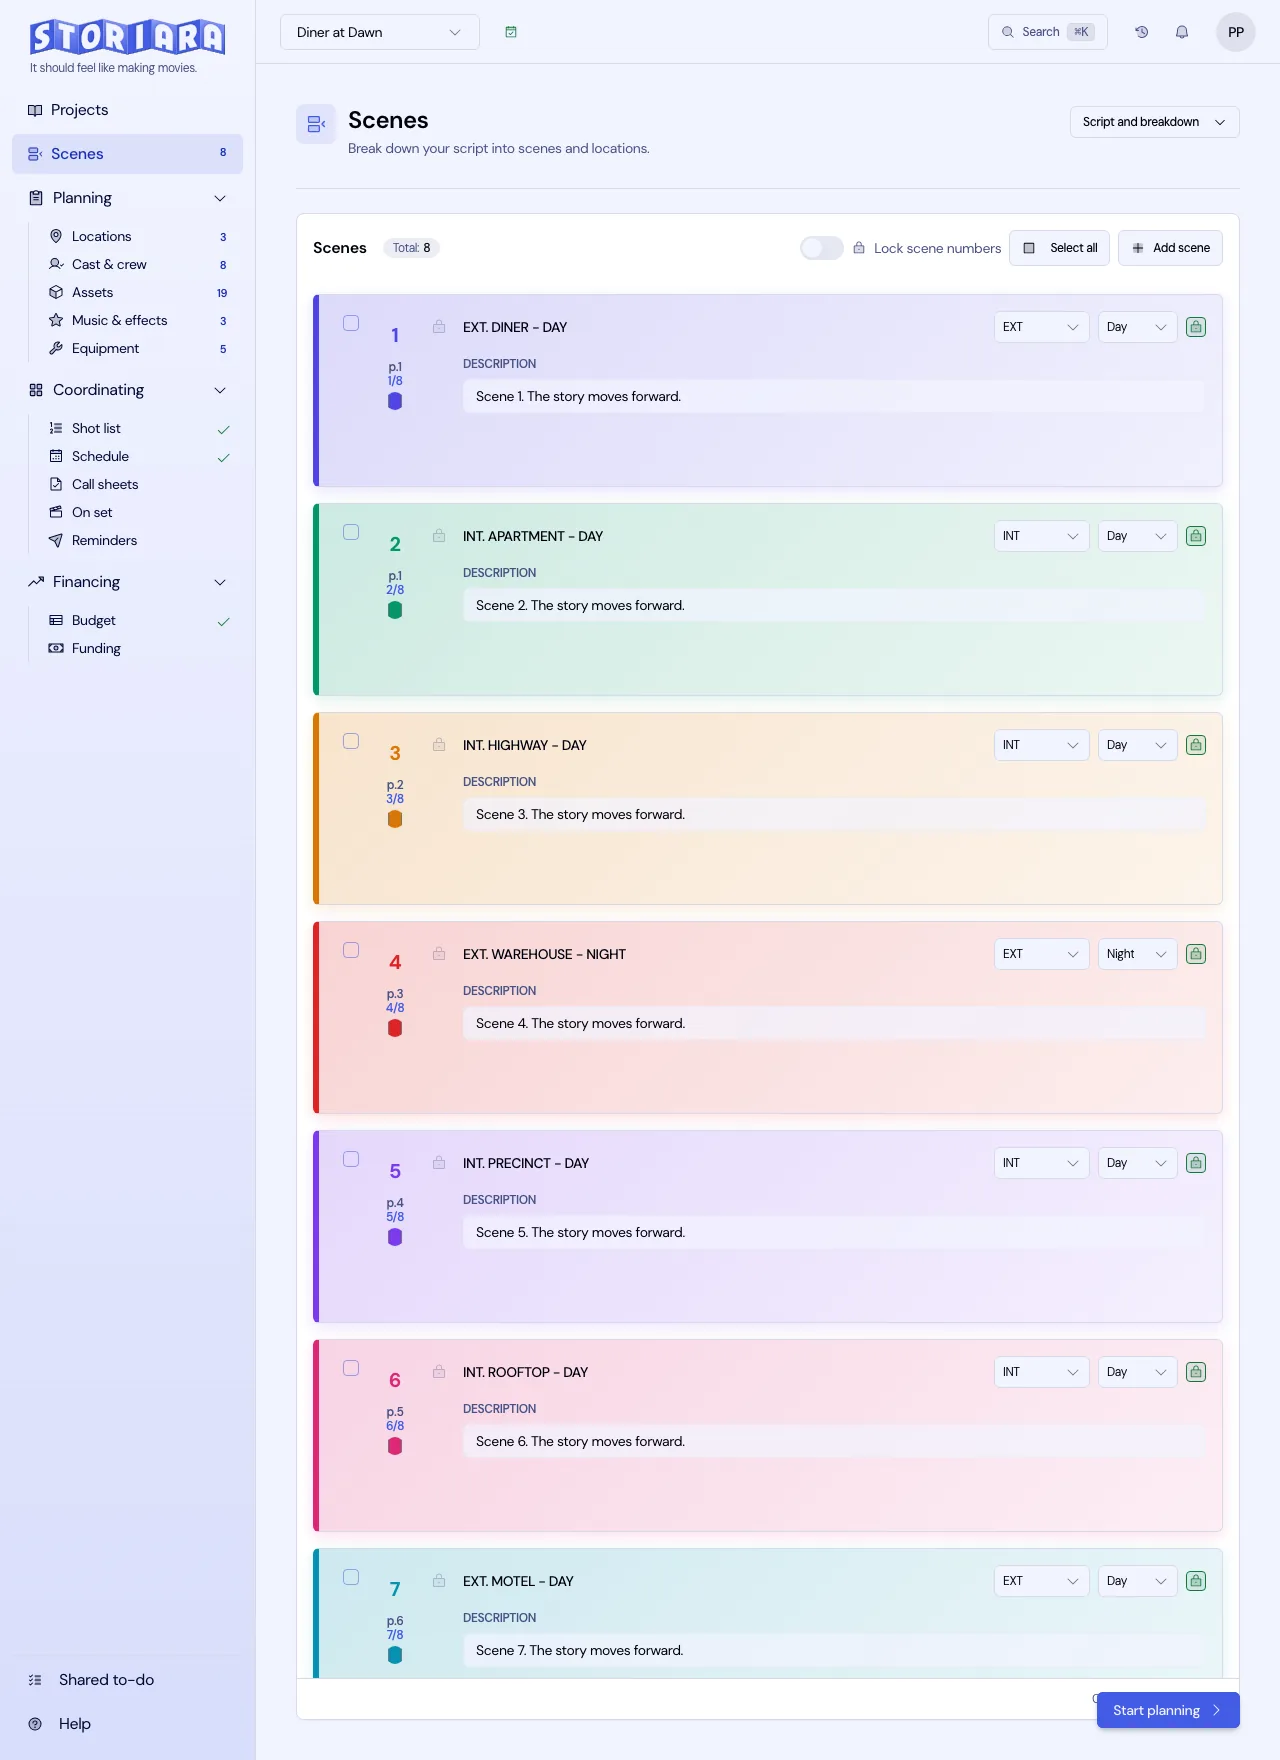
- Select the story on My Stories, then open Scenes. The header reads Scenes: followed by the story title.
- Compare Total in the Scene List header with the number of scenes in your script. If they don't match, look for headings without an INT or EXT prefix, or for intercuts written as one heading.
- For each scene, check the number badge, the start page (shown as "p.12"), and the page count under it.
- Fix the INT/EXT dropdown (INT, EXT, INT/EXT, or ? for unknown) and the Day or Night dropdown where they're wrong.
- Edit the title or Description in place. Changes save automatically; the footer shows Auto-save enabled.
- Click the document icon on a scene (tooltip "View this scene in the script") to open the script at that scene.
Only Day and Night are offered on this page. If your script uses DAWN, DUSK, or CONTINUOUS, pick the one that matches how you'll light it, and put DUSK or DAWN in the description. Magic-hour scenes have a short shooting window, and the 1st AD needs to see that on the strip before placing the scene.
Add, reorder, and delete scenes
To add a scene:
- Click Add Scene in the list header to add at the end, or hover a scene and click Add to insert after it.
- Fill in Name, Description, Script Ref (for example
INT. KITCHEN - DAY), Location (INT, EXT, INT/EXT, or Unknown), and Time of Day. - Click Add Scene.
To reorder, drag a scene by its grip handle. Scene order on this page is story order, which is separate from shooting order on the stripboard.
To delete, hover the scene and click the trash icon, or tick several scenes (or use Select All) and click Delete. A scene that already has shots, locations, characters, props, or wardrobe linked to it shows a lock and can't be deleted or dragged. The delete dialog lists what's linked, so you can remove those links first.
The small color dot under each scene number sets a scene color. Some ADs use it to mark scenes with stunts, minors, or effects so they stand out when scanning the list.
When extraction fails
If the pull fails, the empty list shows "Scene extraction failed" with the reason. Storiara retries failed steps automatically about once a minute when the error is retryable. You can also click Retry Extraction to try right away. If it keeps failing, two common causes are a scanned PDF with no text layer or a script with no standard scene headings. Export a fresh PDF or .fdx from your screenwriting app and upload it as a new version from My Stories.
Set your production dates
Once the scene list looks right, set the shoot window. The Set Production Schedule dialog asks for your shooting dates and daily hours. Those dates drive the Schedule page, availability requests, the Day-Out-Of-Days, and call sheets. You can open it any time from Schedule Settings on the Schedule page.
Tips from breakdown practice
- Split long scenes before scheduling if they cross locations. A heading like
INT./EXT. CAR - MOVING - DAYoften hides a process-trailer day and a stage day; if they'll shoot separately, add a second scene for the other half. - Keep your script's scene numbers. If your locked script has 42 and 42A, use those numbers in the name so the stripboard and call sheet match the pages people carry.
- Page eighths are measured from the PDF layout. Word and Final Draft uploads get a generated Courier 12 pt PDF for viewing, so counts can differ slightly from your writing app's own page breaks. Correct any that matter for scheduling.
Limits
- Time of day on this page is Day or Night only.
- Scene detection needs standard sluglines; it doesn't guess scene breaks from action lines.
- Deleting a linked scene is blocked until you remove its links.
- Reordering scenes here changes story order only. Shooting order lives on the stripboard.